
Building out a positive behavior code in Hero is simple. You may watch this video tutorial, or follow the instructions below.
 |
Step 1: An All Rights User may log in to the Hero Setup Portal. |
|
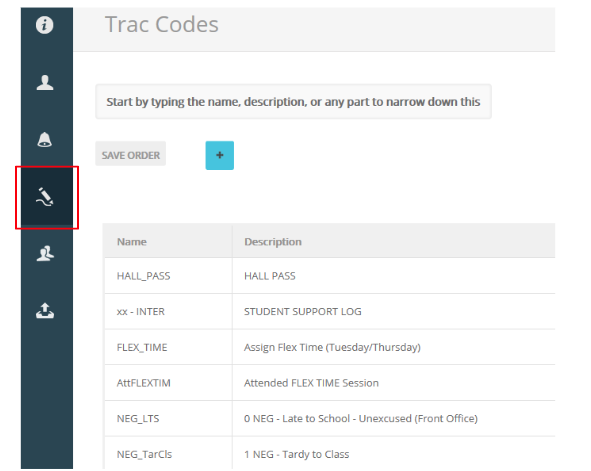 |
Step 2: Select the Trac Codes pencil icon from the left menu to view the list of your current behavior trac codes. |
|
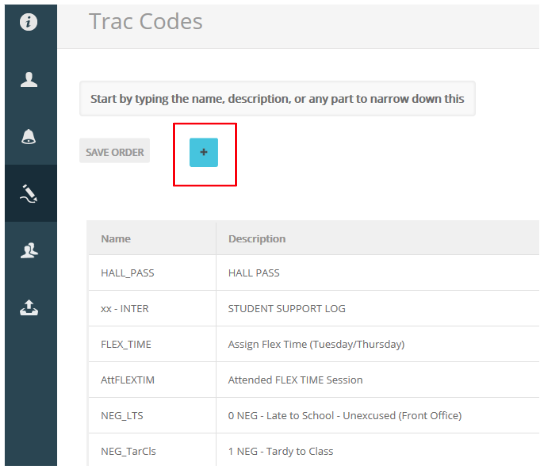 |
Step 3: Select the blue + button to add a new behavior code. | |
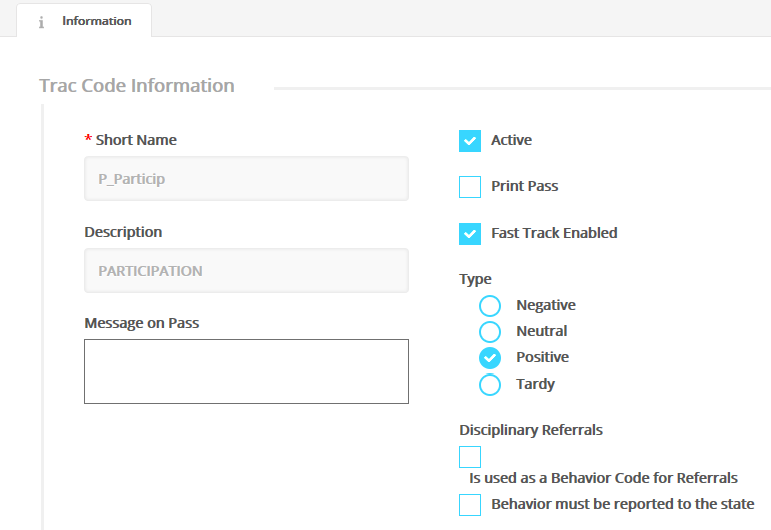 |
Step 4: Create a Short Name and Description for the behavior code. The Short Name is limited to 10 characters, whereas the Description may have more. Step 5: Make the code Active and Fast Track Enabled. Set the Type as Positive. Select SAVE. |
|
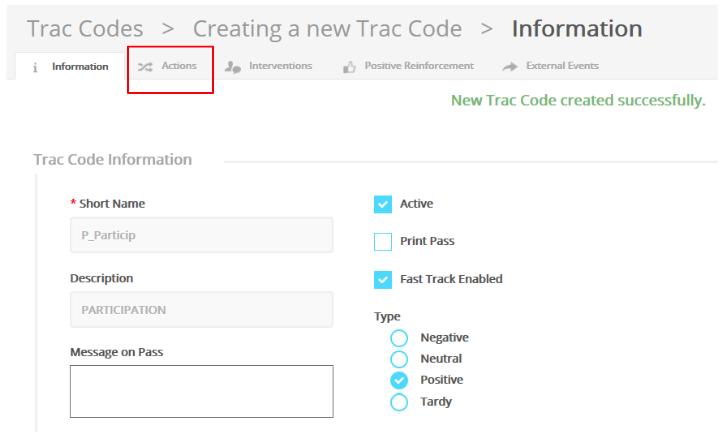 |
Step 6: Select the Actions tab to add a point value to this positive behavior code. |
|
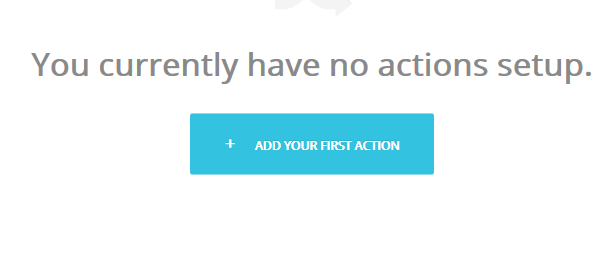 |
Step 7: Add Your First Action | |
 |
Step 8: If you have never created an action for a positive behavior code, create a new action by selecting the blue + button. | |
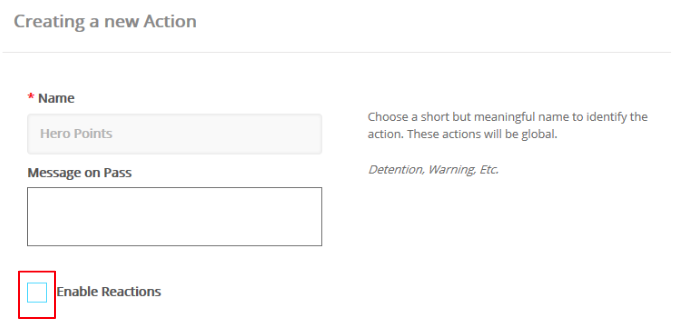 |
Step 9: Name your action and UNCHECK the Enable Reactions box. Select SAVE. |
|
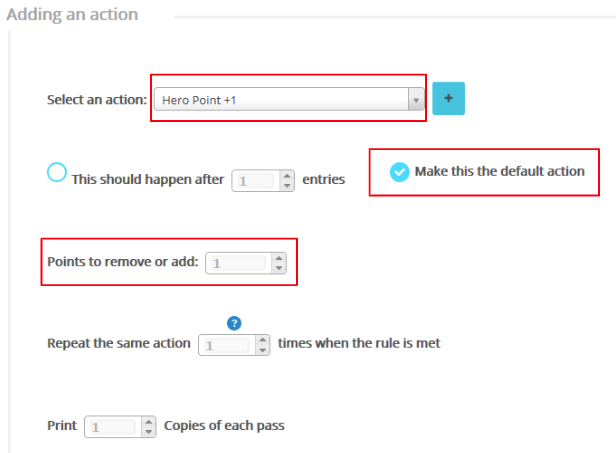 |
Step 10: Select the new action name from the drop-down menu. Select: Make this the default action. Adjust the point value you would like to add. Leave all other settings alone and select SAVE. |
For more assistance:
Start a Live Chat now.
Comments
0 comments
Please sign in to leave a comment.